This post contains affiliate links.

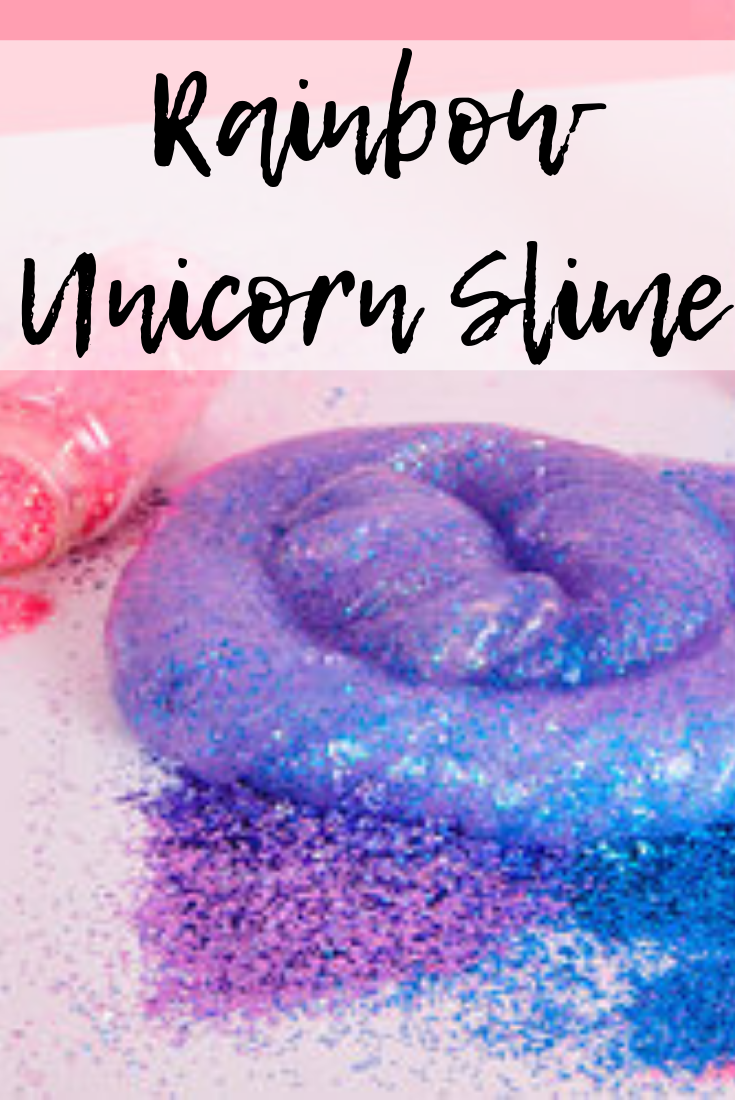
Want to learn how to make colorful slime at home? Whether you are an expert at slime making or trying it for the first time, you are going to love this easy tutorial for making rainbow slime.
Supplies:
- 1/2 cup clear glue
- 1/2 cup lukewarm water
- 1/2 cup liquid starch – we went to a slime convention and the users all swear by this stuff
- 3 different colored glitters
- Optional – slime container
Instructions:
1) Mix the clear glue, water, and liquid starch together. When it’s formed a slime consistency (which should be immediately), divide slime into 3 sections.
2) Stir in one color of glitter into each section.
3) Take your first colored slime and stretch it so that it is about a foot long. Repeat with the other colors.
4) Join the threads of slime together, twisting slightly so that you have a rainbow braid of slime. Squish and mix to your heart’s content!
What’s the science behind slime?
When you combine glue and sodium borate (which is found in liquid starch), something called crosslinking happens and turns the mixture into more of a solid than a liquid. Glue is made up of polymers (you can think of polymers like rubbery spaghetti noodles that slide past each other), and sodium borate is made up of negative ions (which help things stick together). When you add the sodium borate to the glue, the sticky ions help the rubbery noodles come together, and everything stiffens up. As a result, you get this fun textured slime!
Here are a few discussion questions you can ask the kids to think about:
How is glue different from water? Why do you think we use glue to make slime, rather than water?
What are other substances similar to the slime you just made?
What would happen if you throw your slime against a wall? (Optional, of course.)
Inspire Your Child With a Science Expeditions Subscription!
Every month, your child will receive a package full of science experiments and STEM-related activities with themes like rockets, forensics, caves and crystals, slime and so much more!

Thanks to LittlePassports.com for sharing.


